14. Mesh
14.1. 总览
本示例主要介绍如何使用ble mesh。
14.2. 使用步骤
准备 手机安装APP
bl_mesh_app.apk编译
customer_app/bl602_demo_event工程并下载工程;在串口中运行Mesh相关命令:
#stack_ble
#blemesh_init
#blemesh_pb 2 1

打开App,Network栏中选择点击添加

在扫描界面中,选择要添加的设备

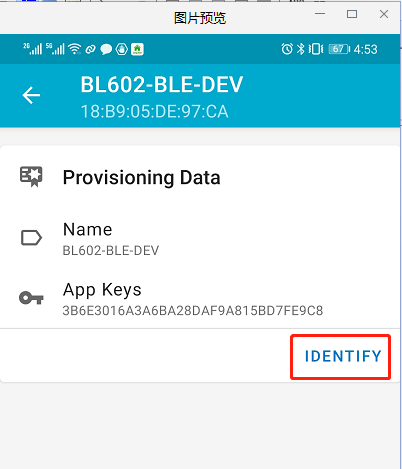
在界面中点击IDENTIFY选项
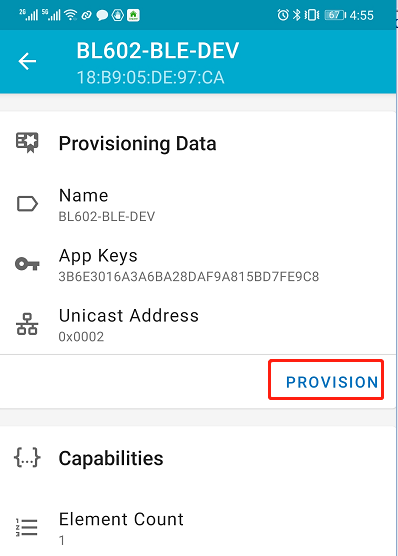
在界面中点击PROVISION选项
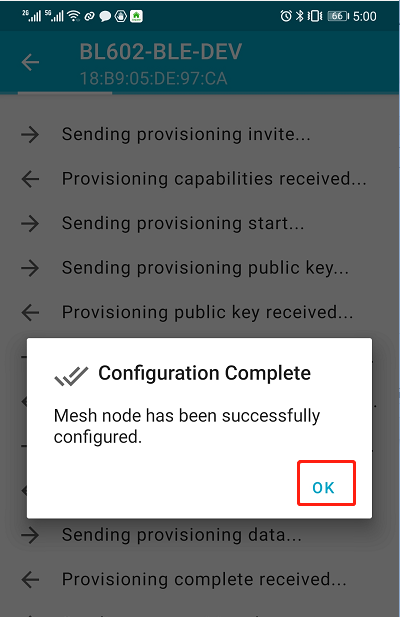
在弹出的界面中选择No OOB,点击ok

在弹出的界面中,点击ok
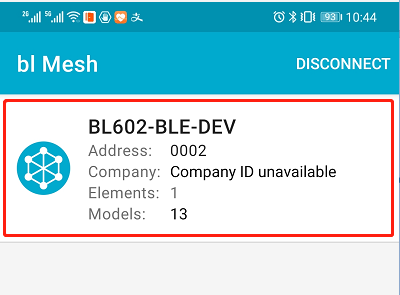
界面自动调到Network栏中,点击已经连成功的设备
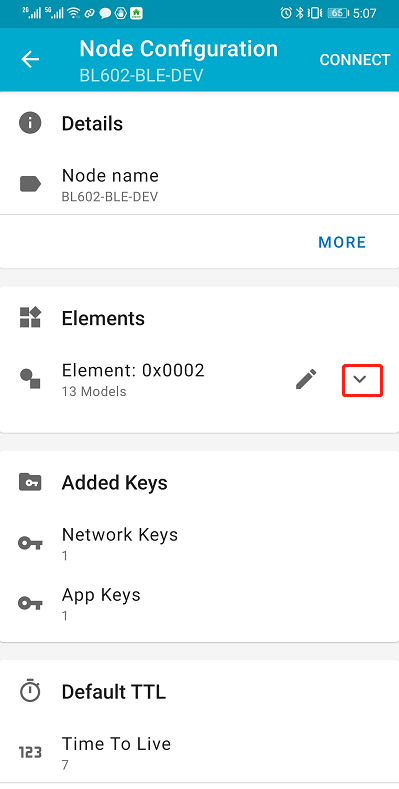
在界面中选择Elements选项,点击其下拉按钮
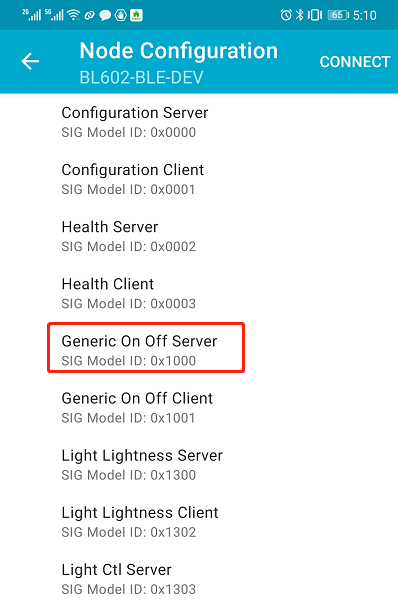
在界面中选择Generic on off Server选项
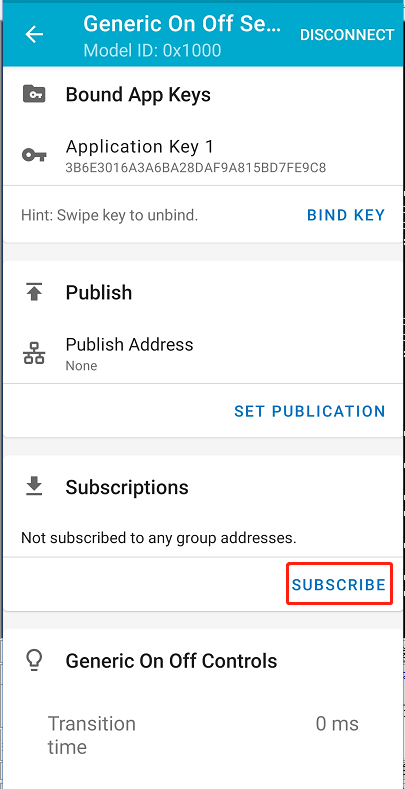
在界面中选择BIND KEY选项

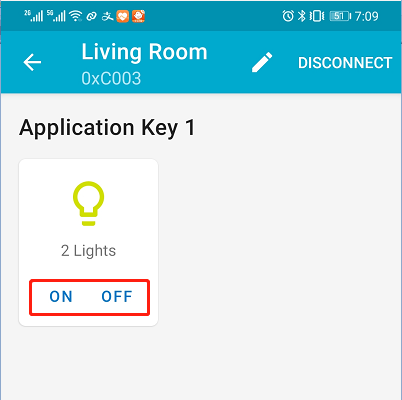
界面中点击Application key 1

在界面中点击ONOFF选项,控制LED的开关

在串口中看到有如下信息表明控制LED成功

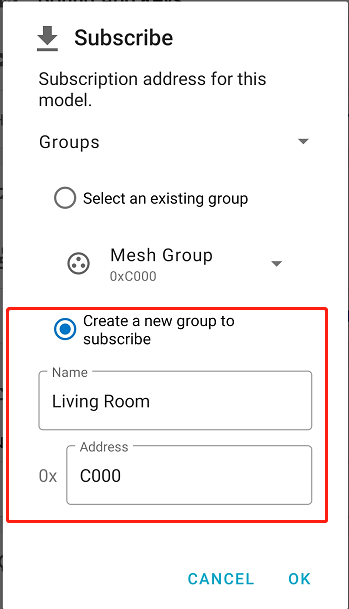
在界面中点击SUBSCRIBE选项,
在界面中选择Create a new group to subscribe选项,
按照同样的方法添加另外一个设备的节点,添加成功后,在Groups选项中,点击已经成功创建的group

在group中,选择ON/OFF,并且串口中打印log提示LED开关信息,说明mesh组网成功